Every SaaS product needs a landing page. Here's how to build one with Tailwind CSS in under 30 minutes — using pre-built blocks so you're assembling, not coding from scratch.
The 7-Section Formula
After analyzing hundreds of successful SaaS landing pages, the pattern is clear. Every high-converting page uses these seven sections in roughly this order:
- Header — Logo, navigation, CTA button
- Hero — Value proposition, headline, primary CTA
- Social proof — Client logos or trust badges
- Features — What your product does (3-6 key features)
- Testimonials — Customer quotes with names and photos
- Pricing — Plans with clear differentiation
- Footer — Links, legal, contact info
Optional additions: FAQ section (handles objections), stats section (builds credibility), and a final CTA section (catches scrollers).
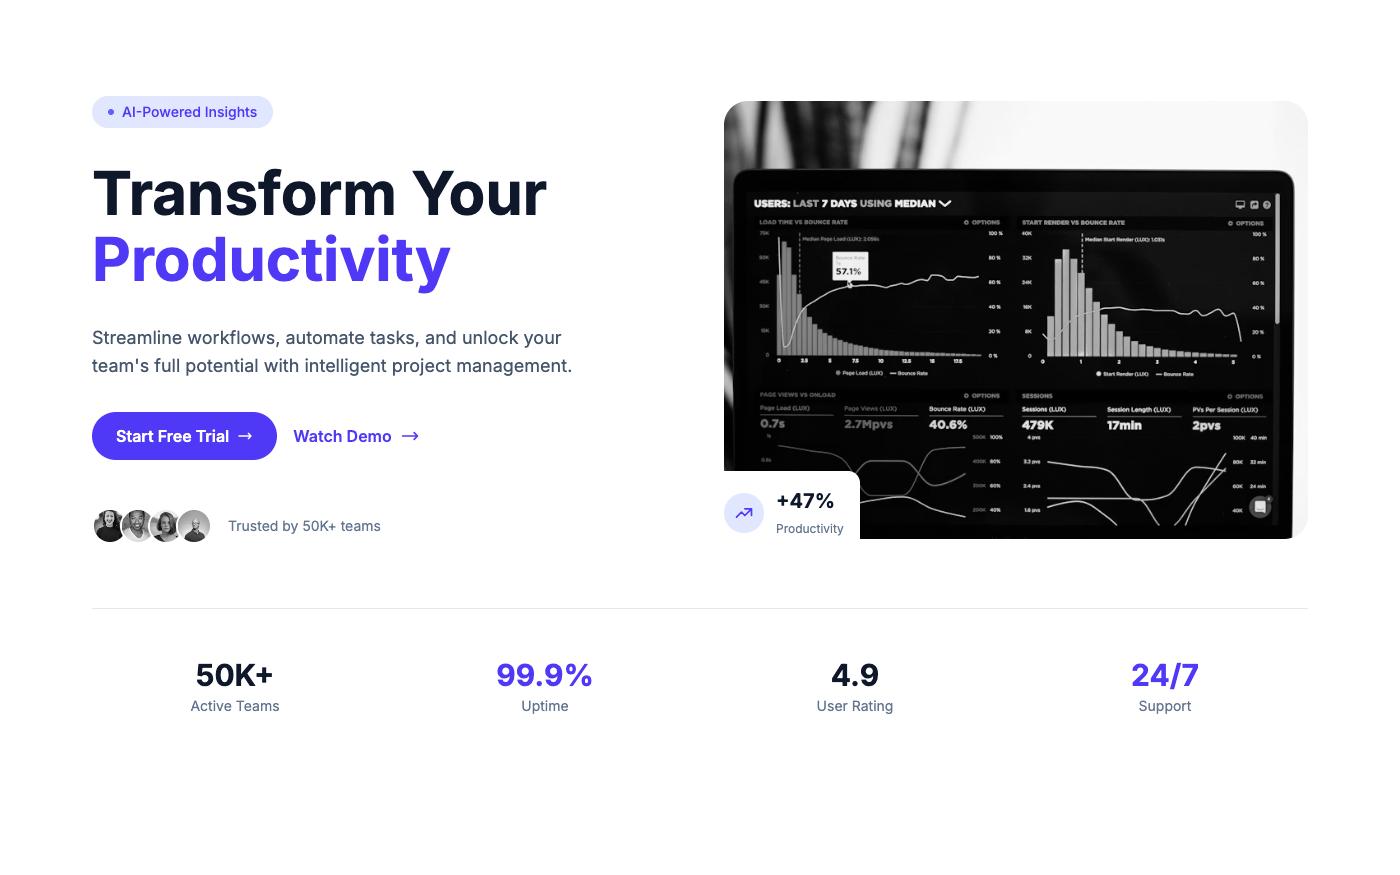
Step 1: Pick Your Hero
The hero is your first impression. For SaaS, a split layout with a product screenshot works best — it shows the product in action immediately.
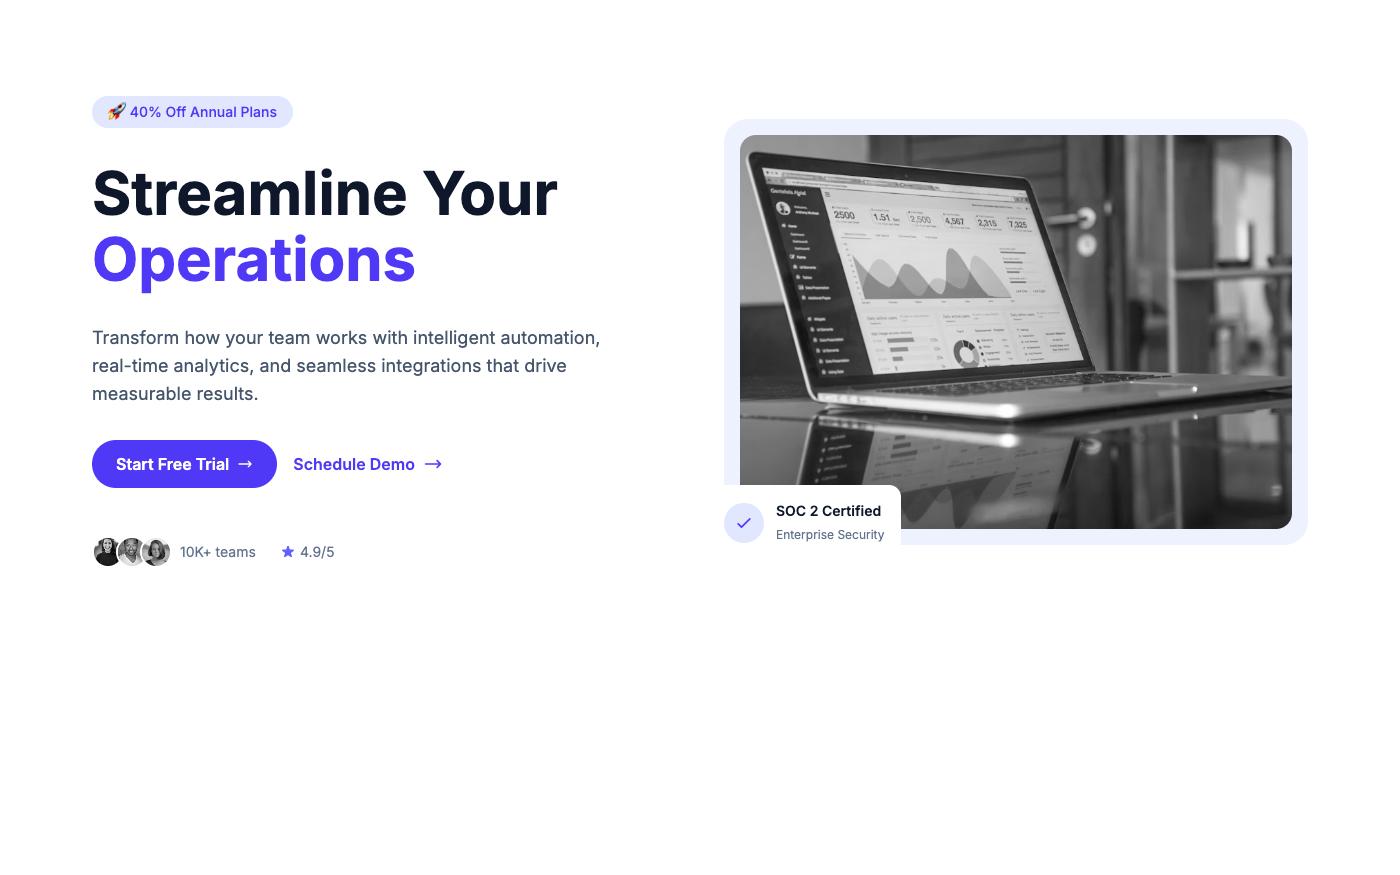
Key elements: headline (benefit-focused, under 10 words), supporting text (1-2 sentences), primary CTA ("Start Free Trial"), and a product visual.
Step 2: Add Social Proof
Client logos immediately after the hero build trust. Even "Trusted by 500+ teams" with a few recognizable logos works.
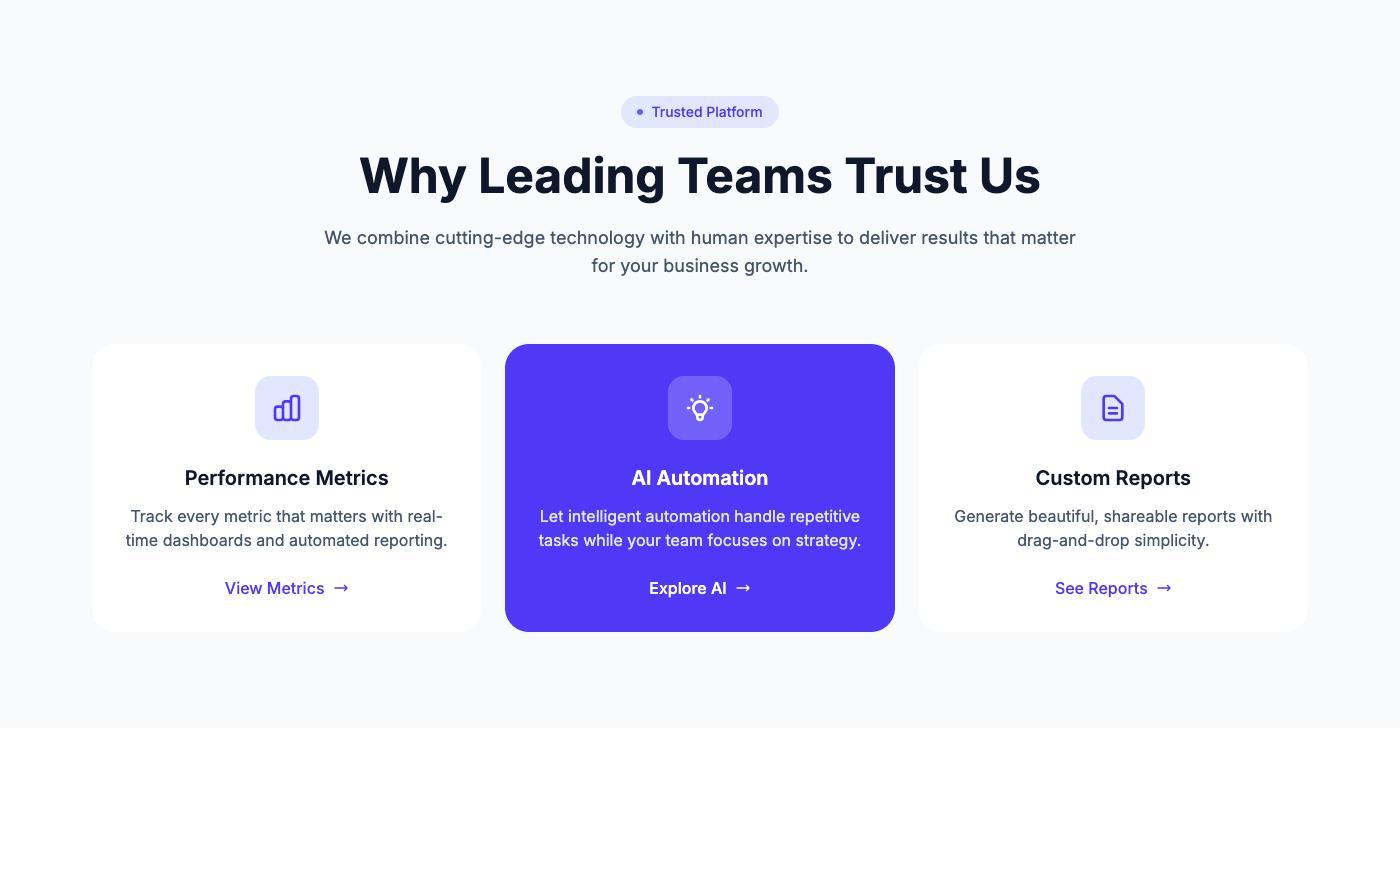
Step 3: Showcase Features
Don't list features — show benefits. Use icons, short descriptions, and visual hierarchy to make scanning easy.
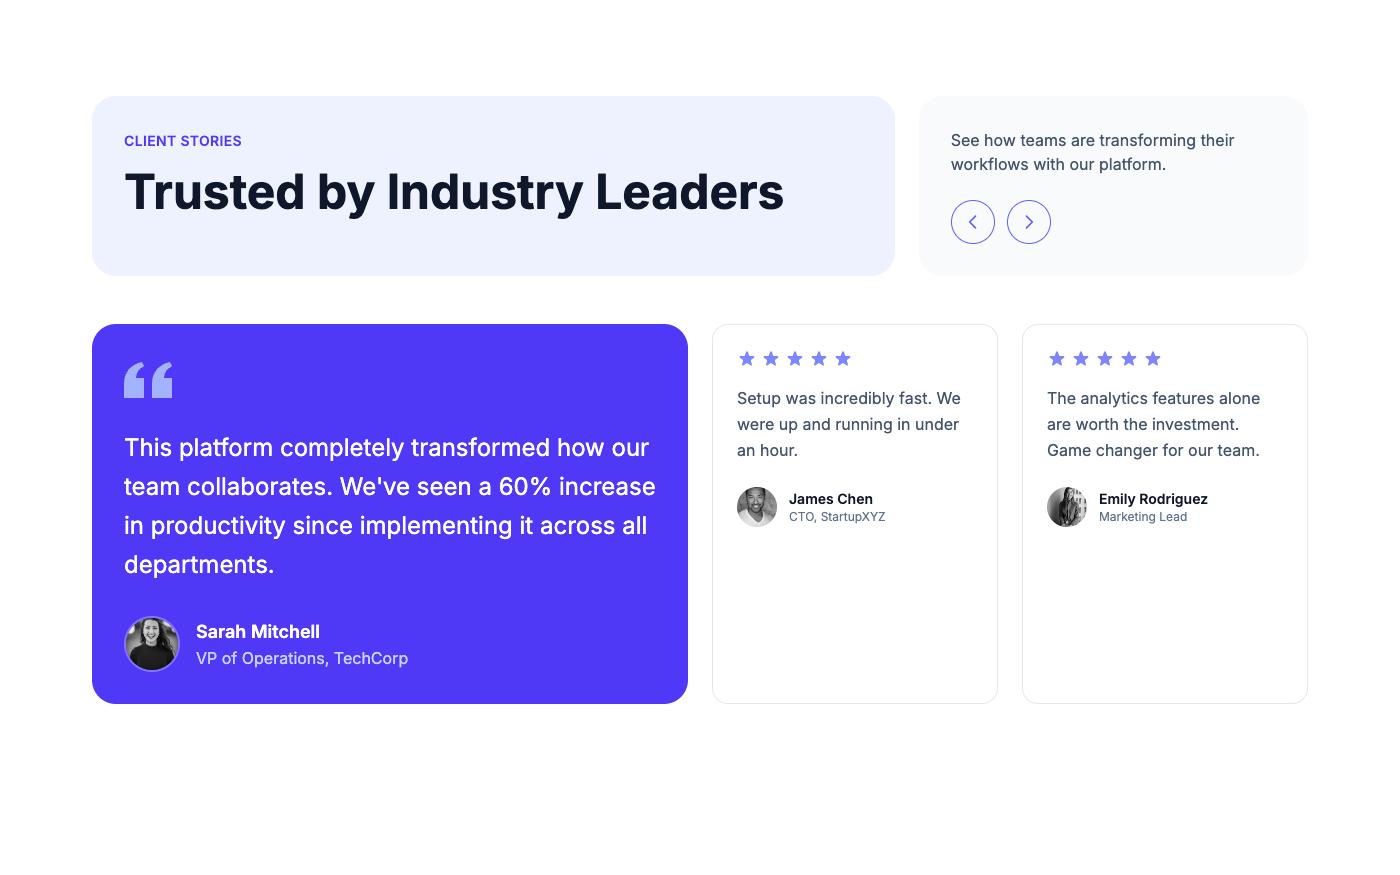
Step 4: Add Testimonials
Real quotes from real customers. Include names, titles, and photos. Carousel or grid layout — both work.
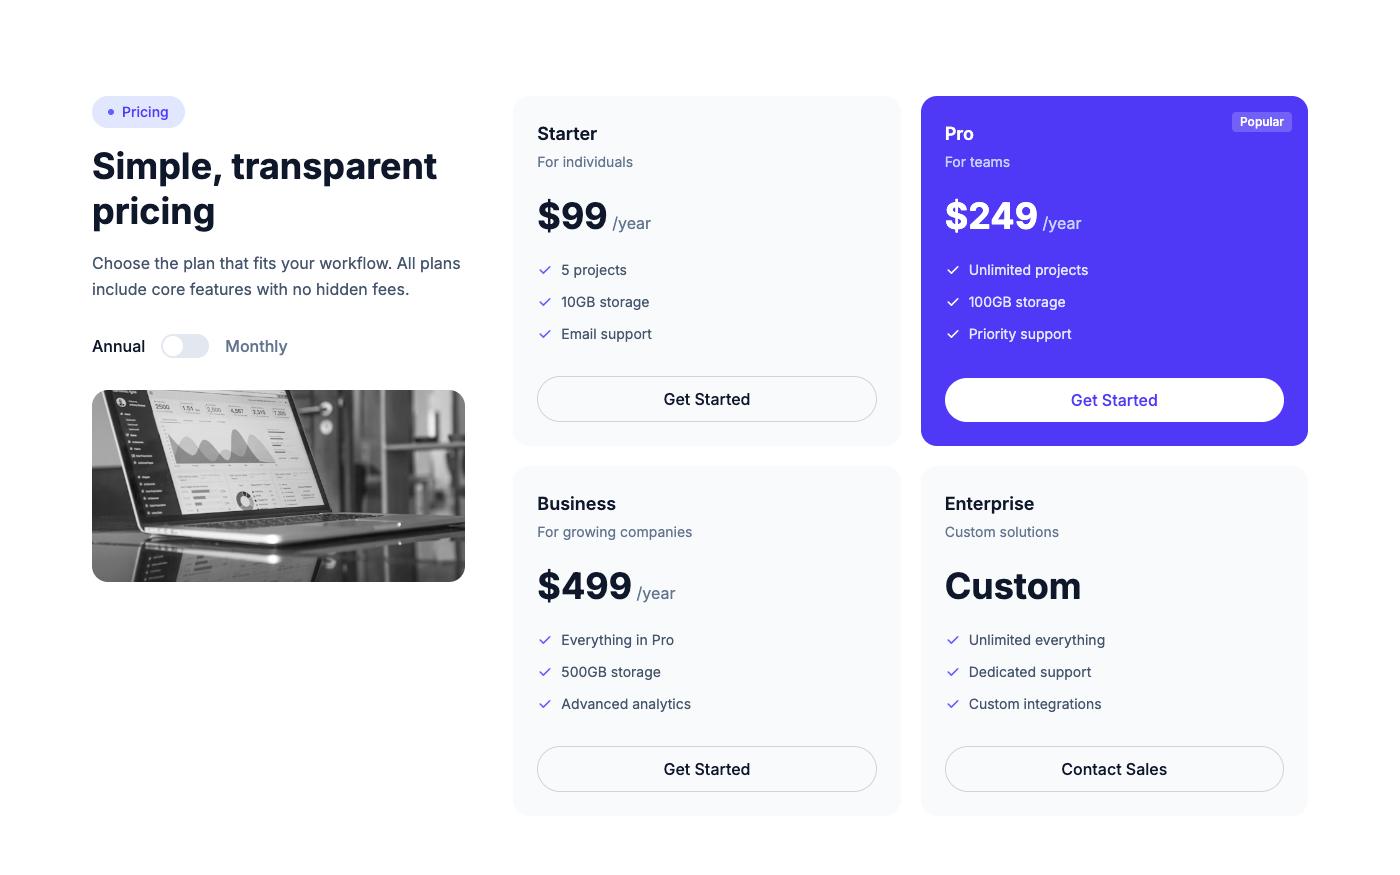
Step 5: Show Pricing
Clear, simple pricing with a highlighted "recommended" plan. Monthly/yearly toggle if you offer both.
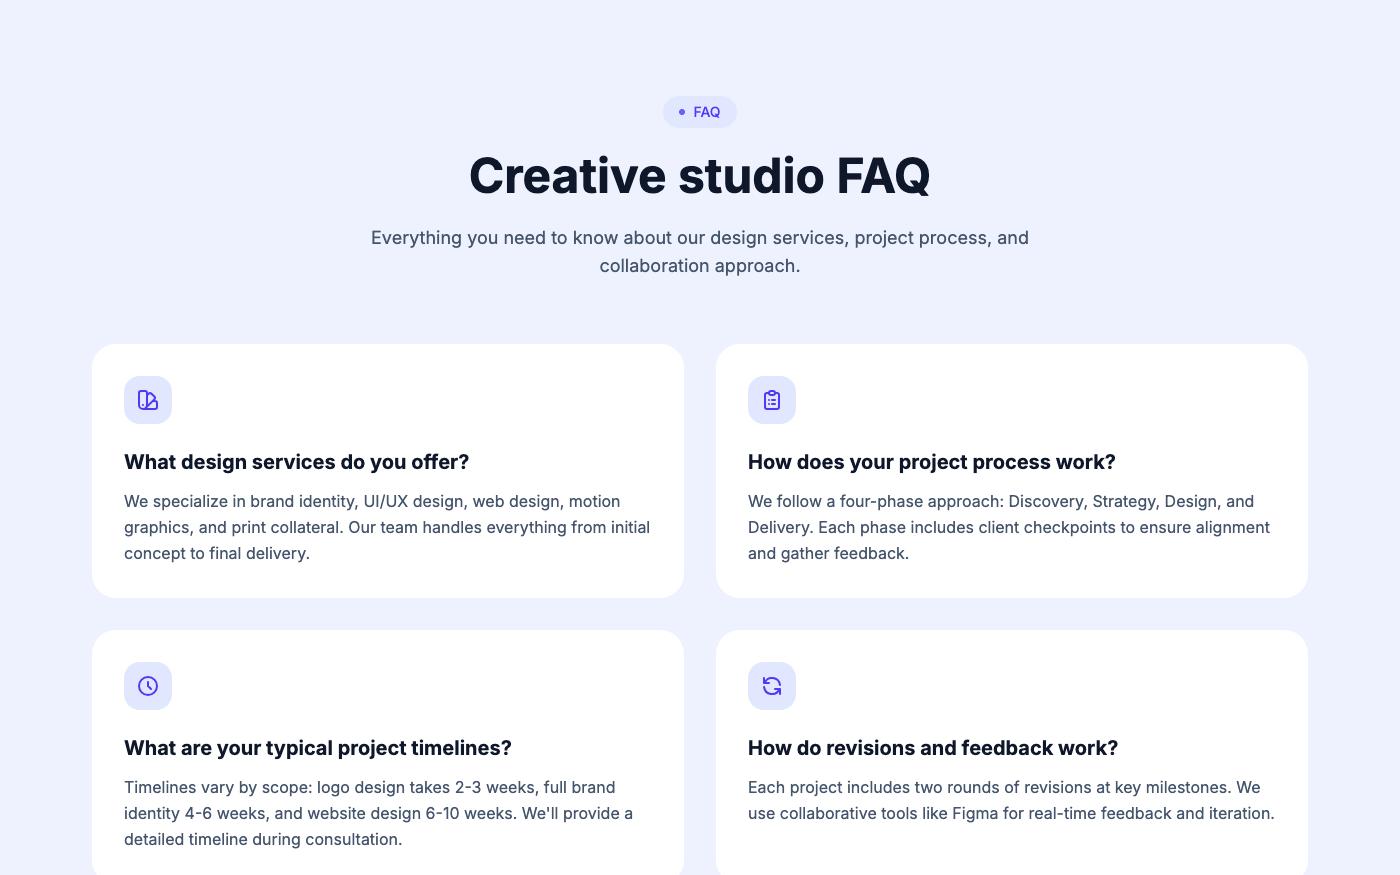
Step 6: Handle Objections with FAQ
Address the top 5-6 questions that stop people from signing up. Accordion layout keeps it clean.
Step 7: Assemble and Ship
Copy each section's HTML, paste them in order, update the content to match your product, and deploy. The entire process takes 20-30 minutes when you're working with pre-built blocks.
💡 Pro tip: Use a single accent color throughout your landing page for visual consistency. Indigo, violet, and emerald are popular choices for SaaS products.
All the blocks shown above are available for free on OpenTailwind — browse by category, preview in light/dark mode, and copy the code.